Beginner’s Guide to Underwater Photography: 5 Steps to Get Started

At one point or another, most divers start taking an interest in underwater photography. Many want to capture the memories of their undersea adventures and share them with their family and friends; some are willing to really learn the craft and create images worthy of getting published in magazines and websites; others still are simply looking for a new challenge. Regardless of where you fall on that scale, underwater photography can be incredibly rewarding, and yes, a bit tricky at times. So, here are a few tips to help you get started on the right fin.
Step 1: Choose Your Camera Rig
Camera Body. If you already own a camera and are well-versed in using it on land, all you may need to do is check to see if an underwater housing is available for it. That being said, a really nice DSLR camera that takes amazing pictures above water is not always the best choice when you just start to shoot beneath the waves. Underwater photography can be overwhelming at first and struggling to keep that heavy rig under control while you’re diving is a sure way to dampen your enthusiasm. So, it’s best to start with a simpler point-and-shoot compact camera. They are much easier to travel and dive with, yet, thanks to the modern camera technology, can produce great images. As your confidence and skills grow, you can invest in a bigger or pro‑level rig.
Note, if you decide to dive with a larger camera system, check out the special buoyancy aids, such as arm floats and port floats. These will help in getting your rig neutrally buoyant.
Camera Housing. Most mainstream camera manufacturers produce their own range of underwater housings which are generally rated to 30 meters (100 feet). Stronger versions with higher depth ratings are available through specialized underwater gear manufacturers, such as Nauticam, Ikelite, Seacam, and others but tend to be more expensive.
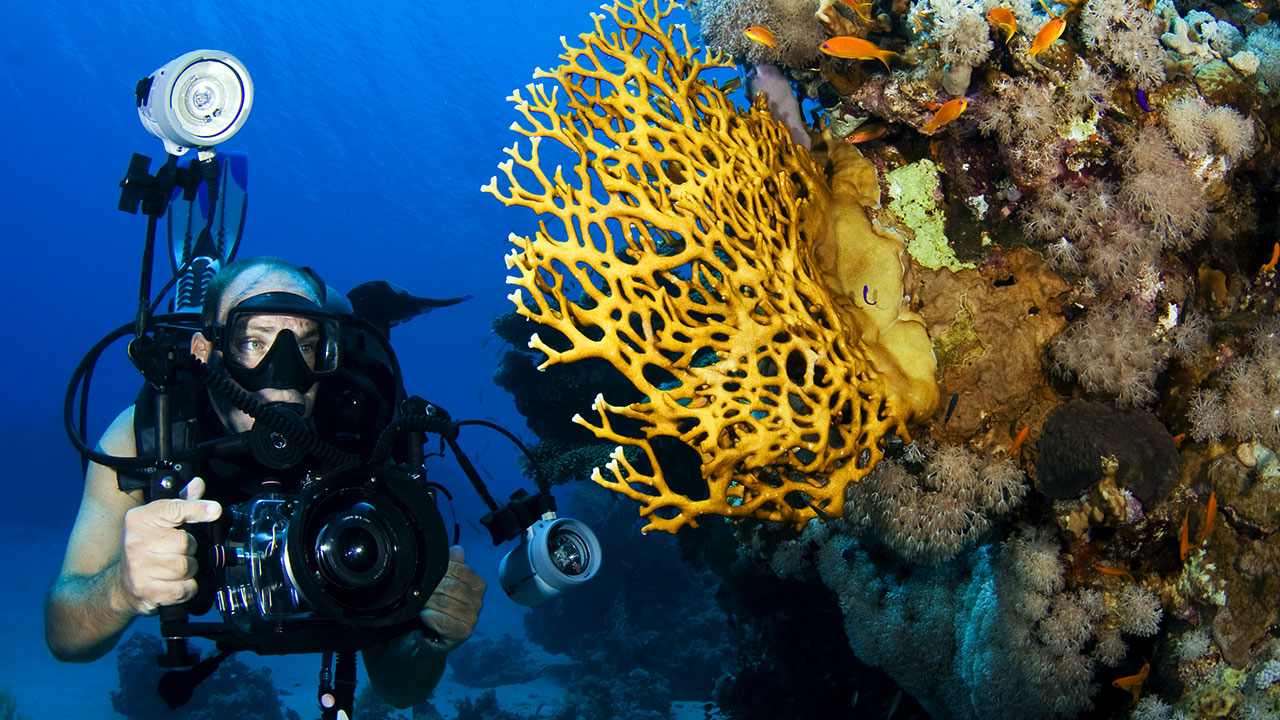
Lighting. Lighting is one of the most critical factors when shooting underwater, so much so that even the best camera can be useless in many situations without a good source of light. There are 3 main options for lighting your images (except the natural light, of course): the camera’s built-in flash, a strobe or underwater lights.
You can start out with just the built-in camera flash but keep in mind, because the light generated by the flash will not travel far through the water, it will work well only when shooting small subjects at a very close range.
Having a strobe and/or a video light will greatly increase the range of subjects and types of photos you can take. Strobes, just like the built-in camera flash, light up only when you take a picture but are much more powerful, so you can shoot larger subjects as well as those that are further away. The downside is that it’s difficult to know how the picture will look before you take it. Underwater video lights can be turned on and off, providing constant light rather than a flash. Having constant light means that you can see through the camera viewfinder how the image will look prior to taking the shot.
Once you are ready to purchase additional light for your camera rig, consider starting with a single strobe and a small focus/video light. With this setup, you will be able to capture good images of most underwater subjects.
Step 2. Get Your Diving Dialed In
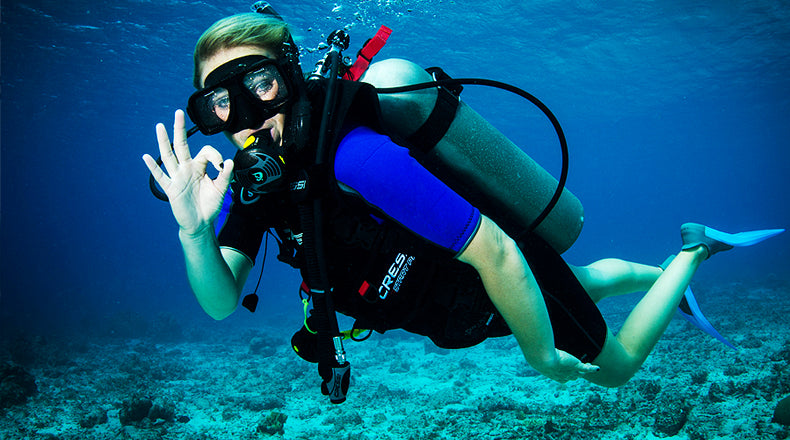
In order to become a good underwater photographer, you must perfect your buoyancy and dive skills. You will need to have excellent physical coordination to get into tight spots or to remain in a stationary position and avoid any contact with the reef or bottom. Learn to control your body positioning and improve your trim, practice a few different finning techniques, think about keeping your breathing controlled and relaxed. It is also a good idea to practice diving with your camera as much as you can, even if you don’t plan to shoot. Consider starting at your local dive site. This way you will have a chance to gain more confidence and get used to your new setup beforehand, rather than awkwardly fiddling with the settings and ultimately missing out on unique and special experiences during your dive trip.
Finally, always follow the basic dive safety procedures. Whilst it is easy to become absorbed in your photography and lose track of things, remember to monitor your depth and gas supply, as well as stay in contact with your buddy. If you plan to stop to take a picture, make sure that you communicate this to your buddy so you don’t get separated.
Step 3. Learn and Practice Basic Underwater Photography Concepts
When you’re a beginner underwater photographer, overflowing with enthusiasm, it may be hard to resist the temptation to swim around like a maniac taking pictures of everything you see. It’s best though to take it slow and concentrate on the quality of your shots rather than their quantity. So here are a few tips and basic underwater photography principles that will help you take better photos when you are just starting out.
- Get close to your subject. Because water is much denser than air and absorbs light very quickly, the further you are from your subject, the more likely it is that your images will turn out dull, blurry and with a blue-grey hue. Minimizing the amount of water between your camera and the subject will help you get a clearer, sharper, and more colorful image. Additionally, this will also reduce the occurrence of backscatter, tiny particles in the water, illuminated by your camera flash or strobe light. Be careful though not to disturb the marine life you are photographing. You should only get as close as you can without being invasive.
- Use natural light in shallow water. If you are shooting without an external strobe and want to try and capture wider angle reef images, shallow water is the best place to start. Ideally, you should stay at less than 5-10 meters (15-30 feet), where the light from the sun penetrates the entire water column. Choosing a sunny day and shooting some time between 10 am and 2 pm, when the sun is high in the sky, will help too. Shoot with the sun to your back, as you would on land to avoid excessive backlight. Finally, if you’re shooting from a few feet away and backscatter is too visible in your photos, turn off your camera's built-in flash and you'll see how your results improve.
- Think about image composition. While there are no unbreakable rules when it comes to how you should compose your photographs, there a few guidelines that can help you take better photos, especially when you’re just starting out. A simple one is the “Rule of Thirds”. This technique basically tells you to mentally divide the frame into 9 equal rectangles, 3 across and 3 down. Many camera manufacturers have actually included the capability to display this grid in live view mode. Check your camera’s manual to see how to turn on this feature. The idea is that the most important elements of the scene you’re shooting should be at one of the locations where these lines intersect.
- Shoot up. Although in underwater photography shooting down is often easier, capturing your subject at a slight upward angle usually produces better results. Shooting up gives you a more appealing view of the subject, as well as helps to draw attention to it by creating a much-needed contrast with the background.
- Focus on the eyes. Clearly, getting images in focus is absolutely necessary for a successful image. But which part of your subject should you focus on? In wildlife photography, nine times out of ten, it is best to focus on the eye, even if that means other parts of the animal will be out of focus. Keeping the eyes sharp creates a bond between the subject and the viewer, making the whole image more compelling.
- Try using manual white balance adjustment. When you set your camera's white balance, you are essentially telling it what you expect the color temperature of your photo will be. If you are lighting up a close subject with your strobe or internal flash, your white balance can be set to Auto, as it will adjust to the color temperature of the light your flash emits. If you are not using any artificial lighting, however, and shooting in ambient light, it is a good idea to set your white balance manually. To do this, you should access the camera menu, go to manual white balance setting, and take a snap of a white dive slate. This will help you recover some, or even most of the colors, especially if you are shooting in shallow water. Below 10 meters (30 feet), the effect of manual white balance is much less visible.
- Keep progressing. Using auto mode is a quick and easy way to get started with underwater photography, however, it can only get you so far. If you really want to take control of your image, you will have to start experimenting with manual settings. To begin with, in order to shoot manual, you have to understand the relationship between shutter speed, aperture, and ISO. This will help you get a better grasp of how your camera works and which settings need to be adjusted for the desired creative effect. It may seem obvious, but the good place to start learning about the various settings is your camera manual. Be sure to read it cover to cover, as it often contains a lot of useful information not only about the camera itself but also about the general photographic principles.
- Use post-processing. Most underwater photos require some level of editing to help them look their best, os it is well worth getting familiar with some good image editing software. During post-processing, you can add filters, adjust color, increase brightness/ contrast, remove backscatter and crop your images to create better composition. Such edits can really improve the quality of your final photo. It is important to know when to stop though, or your images may end up looking over-processed and unnatural.
Step 4. Take Good Care of Your Equipment
Underwater photography equipment can be quite an investment, so it’s in your best interest to devote some time to maintenance before and after the dive.
Before the dive:
- Check the seals for hair, salt residue, dust, fibers or any other foreign matter. Make sure o-rings are clean and greased, but not over greased. Excess lubricant can actually hinder the water tightness by attracting dust from the surroundings.
- If you need to remove the O-ring from the housing, use either an O-ring remover tool or a blunt object such as a credit card. Never use a knife or any other sharp implement to remove the O-ring.
- If you are inserting silica gel sachets into your housing, make sure that they do not affect the seal of the housing or the functionality of any of the buttons.
After the dive:
- Rinse your camera gear off with fresh water after each dive. Better yet, leave it to soak for a few minutes. Operate each of the control buttons and switches while in the freshwater. This will help dissolve any salt crystals inside the control buttons. Never let salt water dry on your equipment.
- Don’t leave your housing in a public rinse bucket, as other cameras may knock it around and break the seal.
- Dry your camera rig carefully with a clean, soft microfiber towel or cloth.
- Try to store your camera in a low dust and well-ventilated environment. Always follow the manufacturer’s instructions and guidelines regarding camera maintenance and storage.
Step 5. Respect the Environment
It often happens that underwater photographers get a bit overzealous when encountering a subject they want to photograph. However, you should always remember that you are a guest in the underwater world and respecting its inhabitants should be among your top priorities. It’s been said and written numerous times but we’ll repeat it all the same - never harass marine life! Manipulating an animal’s position for a more appealing composition is not only unethical and deceitful but also potentially harmful to the animal. Approach marine life slowly, take your shots and then give the animal some space. Additionally, pay attention to your gear. Make sure all your hoses are tucked away and nothing is dangling to minimize the potential of damaging the reef.